![Netstream_White_RGB[1].svg]](https://support.netstream.cloud/hubfs/Netstream_White_RGB%5B1%5D.svg)
The Netstream Cloud Center is your central hub for managing your customers and services efficiently as a Netstream reseller.
Log in
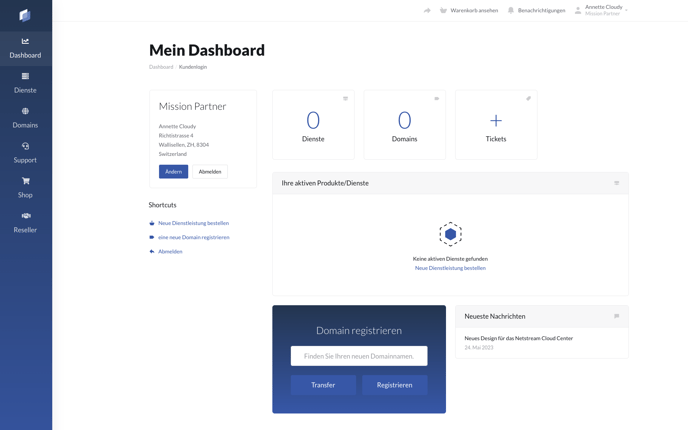
Log in to our Netstream Cloud Center to access the reseller area. You will now see a dashboard with an overview of your services. These are the services assigned directly to your account, not those used for specific customers. Use the left sidebar to switch between the different areas.
Reseller area
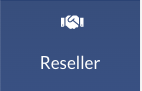
To switch to the reseller area, click "Reseller" in the left sidebar. You are now in the overview of your customers. Here you can create and manage new customers.
New customers must always be provisioned through this portal. This is the only way the ordered cloud services can be assigned to the respective customer and to your reseller account.
Create a new customer
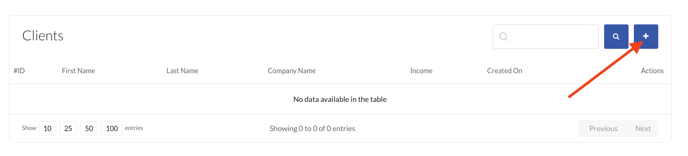
- To create a new customer, click the plus sign at the top right.
- Now enter the customer's contact details.
First Name: Enter the first name of your contact person.
Last Name: Enter the last name of your contact person.
Company: Enter the name of your customer's company.
Email Address: Enter the catch-all address ending in @yourname-ncc.local that you received from us. Choose a unique name for each customer. (Example: favouritecustomer2000@missionpartner-ncc.local)
Phone Number: optional
Password: Choose a secure password.
Currency: CHF
Untick "Send the new account information message". As a reseller, you do not need this email, because you can log in as the customer through your portal.
You do not have to enter the address. However, it is important that you set the country to "Switzerland".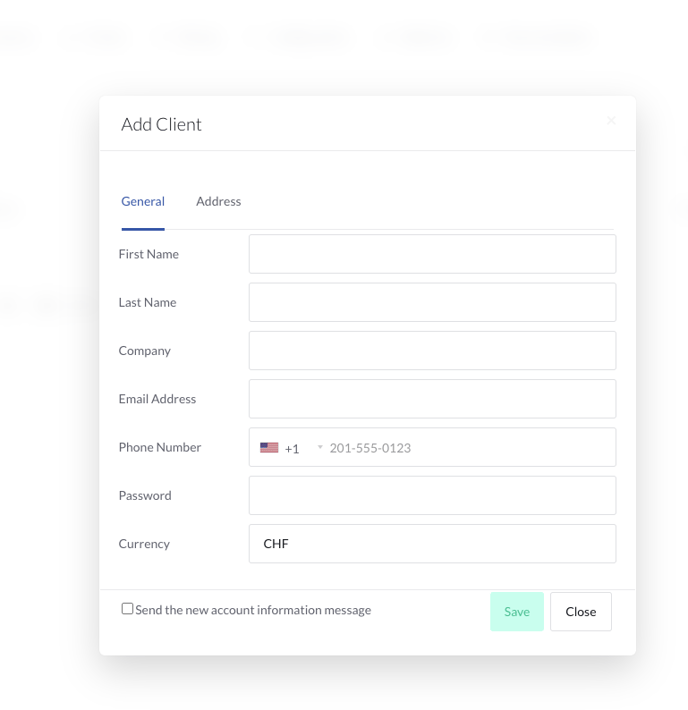
- Click "Save" to complete the creation.
Log in as a customer
To log in as a customer, click the small user icon. You will be redirected and see the customer's overview.
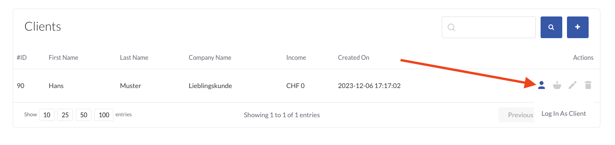
You are now in the dashboard of the customer account. Here you can, for example, see which services the customer already has and also order new ones. We show you how to order a new service in the next step.
At the top right, a small notice appears: "You are currently logged in as a client.
Log out and return to Resellers Center" Click the link to return to your reseller overview.
Order a new service for a customer
To order a new service, you can log in as the customer as described above, or do this directly from the reseller area. To do so, click the small shopping basket icon next to the customer you want to order a service for.
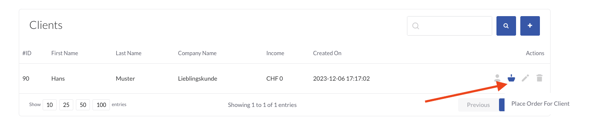
You will now see an overview of the products you can order for your customer. In our example, we order an Object Storage bundle.
- Click the product you want to order.
- Choose the term.
- Click "Continue".
- You will see an overview of the order and the payment information. Check all details.
- Tick the box to accept the terms and conditions.
- Click "Checkout".
The order is complete and is provisioned by the system.
Edit a customer
Click the small pencil icon to open the page where you can edit the customer's information. 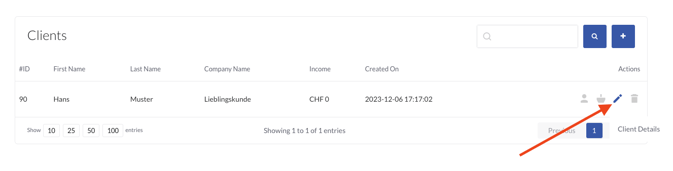
Delete a customer
To delete a customer, click the small bin icon.
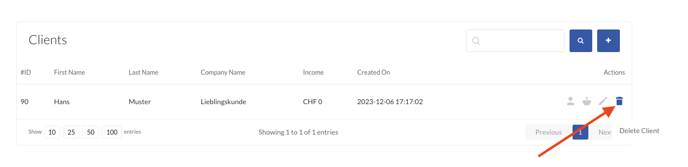
Warning: This step cannot be undone and means that the customer's services are also deprovisioned.