![Netstream_White_RGB[1].svg]](https://support.netstream.cloud/hubfs/Netstream_White_RGB%5B1%5D.svg)
Before you start creating your VM in your VDC, we recommend that you first read the quick start article on the Virtual Data Center.
If we create the VDC for you, the basic requirements for creating a VM are already in place: the network and the Edge are already configured so that your VMs have access to the internet.
There are several ways to create VMs. In this example, we will create a Windows 2022 Server VM from a template. However, you can also install a VM from one of our ISOs (boot image), from your own ISOs, or using our Application Launchpad.
Creating a new VM
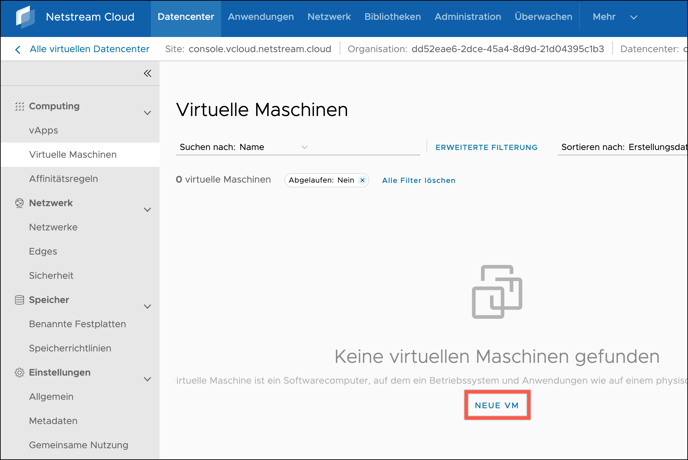
Once you are logged in to the VDC you want, click New VM in the Virtual Machines menu:
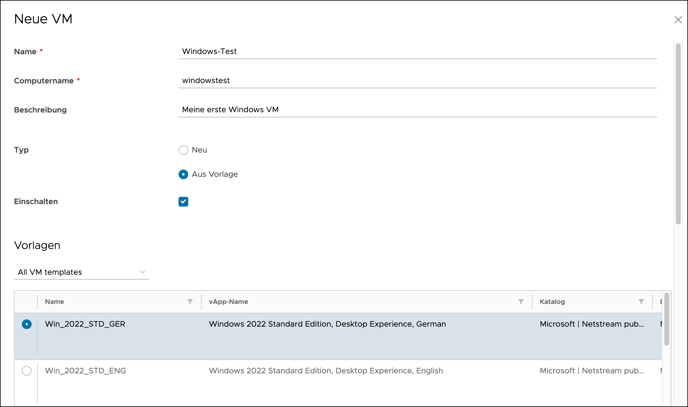
You can then define the name of the VM, select the type From Template and choose the template you want:
Further down, you then need to configure the network settings. In this case, we do this as follows:
| Network Adapter Type | VMXNET3 |
| Network | Internal |
| IP Mode | Static - IP Pool |
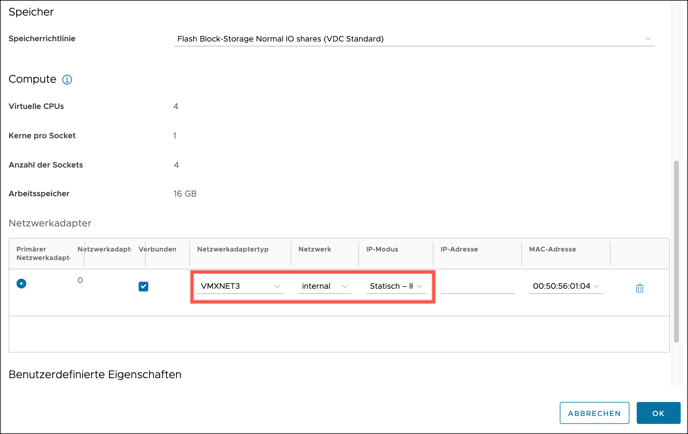
Advanced users can of course choose other settings here, depending on their requirements.
Then confirm the creation of the VM by clicking OK. The VM is now created. When this process is complete (it takes about one minute), the VM is visible:
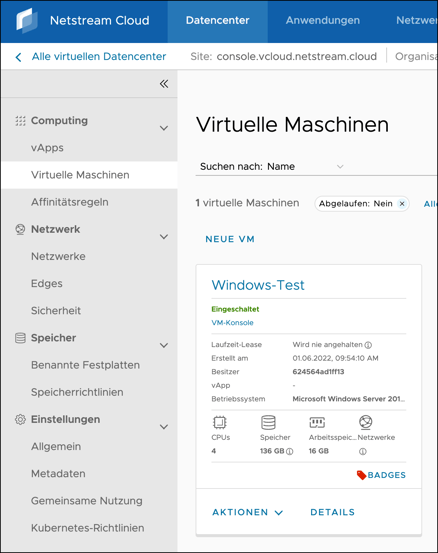
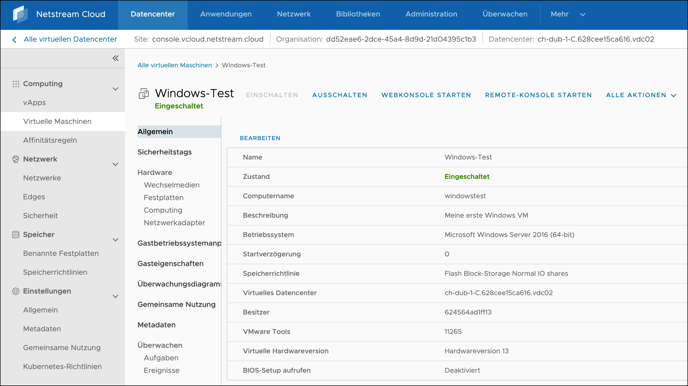
If you now click the VM, you can see all its details and properties:
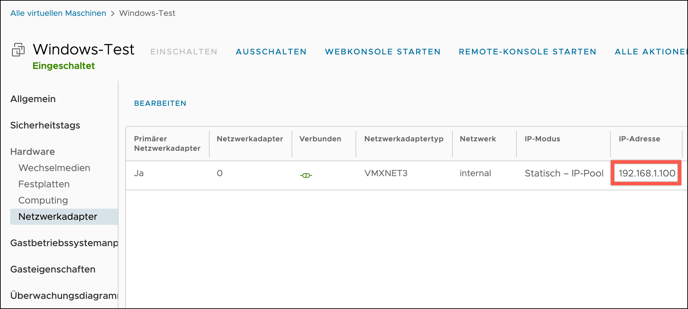
In the Hardware / NICs menu, you can see which local IP address from the predefined pool has been assigned to the VM.
Logging in to the VM
You can now connect to the VM by clicking Launch Web Console or Launch VM Remote Console.
Launch Web Console opens the console in a browser window. Launch VM Remote Console only works if you have previously installed the VMware Remote Console application. The macOS version is available in the App Store.
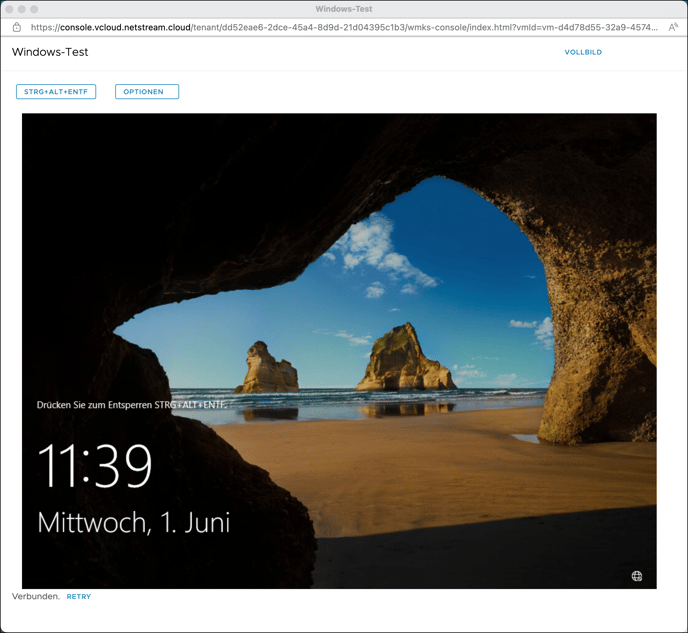
To log in, you must send the key combination Ctrl+Alt+Del to the VM from the remote console.
ℹ️ NOTE
The default password for the Administrator user is: NetstreamCloud123
Change it immediately after your first login!
ℹ️ NOTE
If there is no network connection after login, you must set the IP address manually in the network settings.
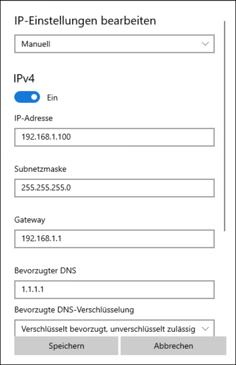
You can now use your Windows VM as normal.
Access from the internet
As your network is initially configured, the VM can reach the internet via SNAT (Source Network Address Translation), but the VM cannot be reached from outside. To make this possible and to make services publicly accessible (if required), you need to create DNAT (Destination Network Address Translation) rules and firewall rules on the Edge. You can find out more in this quick start article.