![Netstream_White_RGB[1].svg]](https://support.netstream.cloud/hubfs/Netstream_White_RGB%5B1%5D.svg)
Installing the appliance using an OVA
First, you need to install the appliance using an OVA. Log in to your on-premises VMware environment as an administrator:
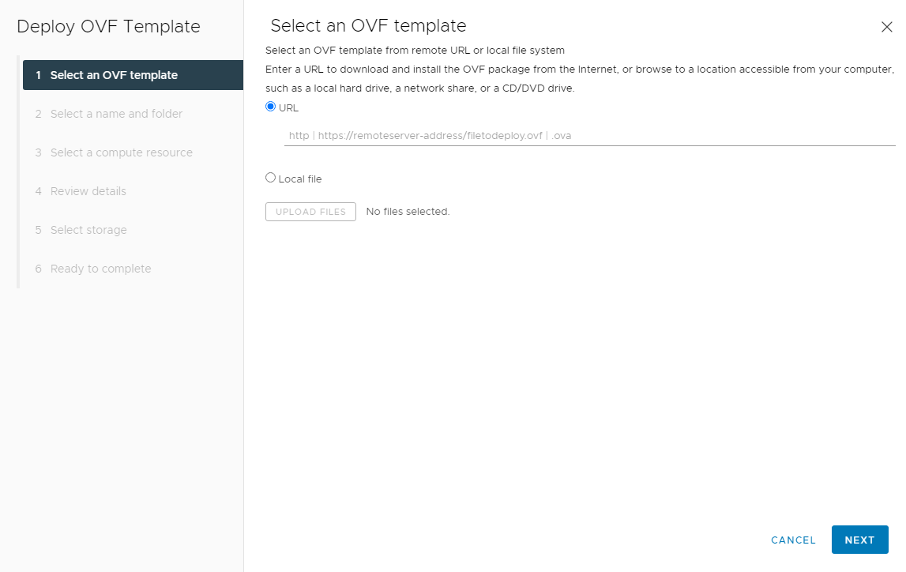
In the menu, select «Deploy OVF Template», for example by right-clicking your data centre.
Enter one of the following as the URL:
v4.7.3:
v4.5:
v4.2:
v4.3:
Next, select the resources in your environment on which the appliance will be placed:
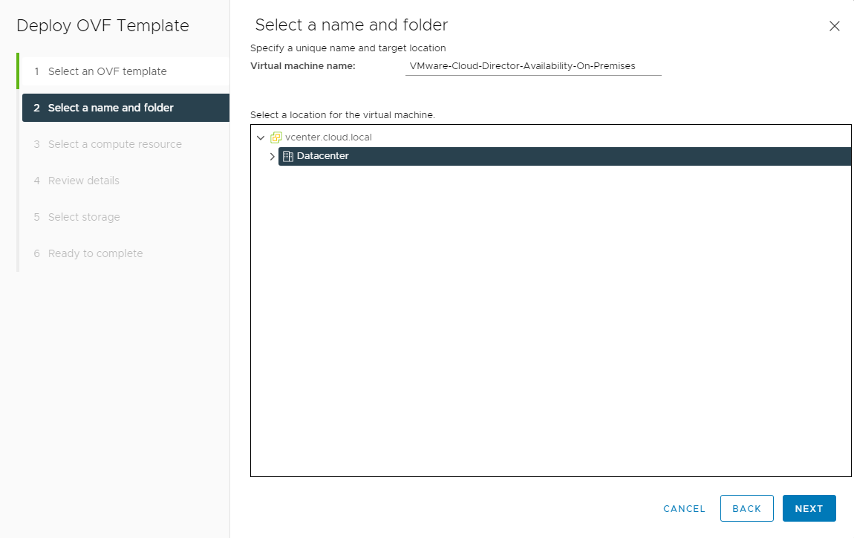
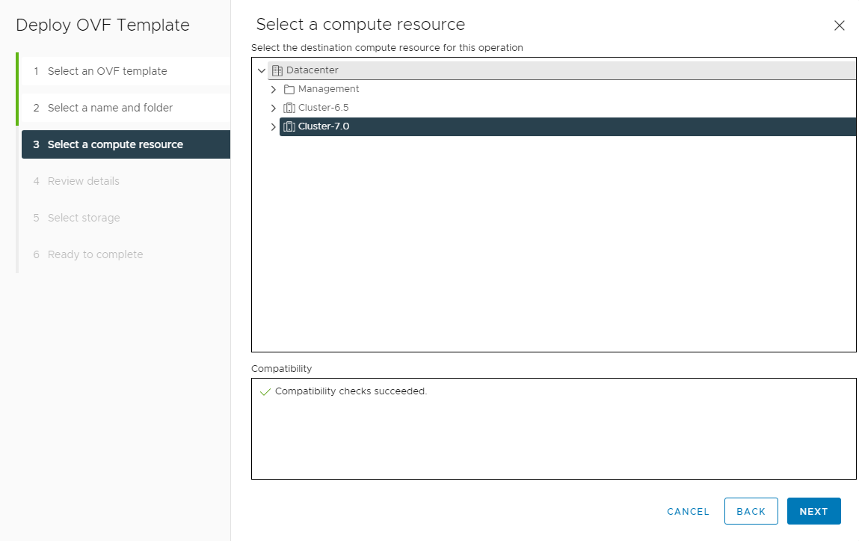
Check again that the selected settings are correct:
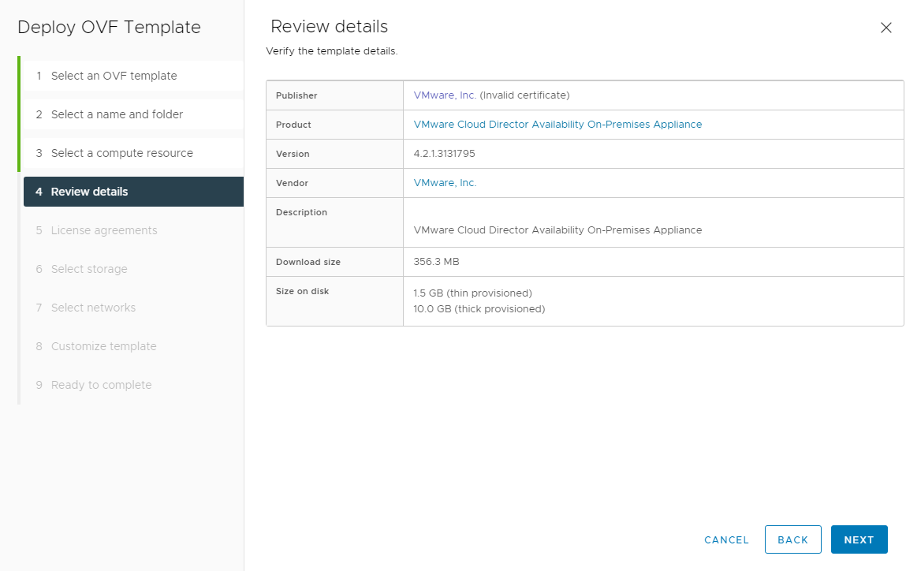
Accept the licence terms:
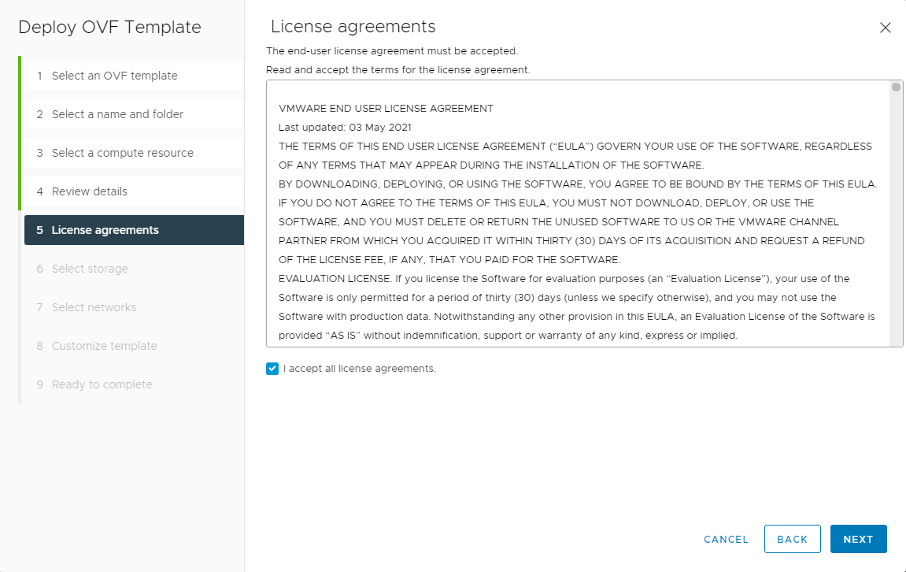
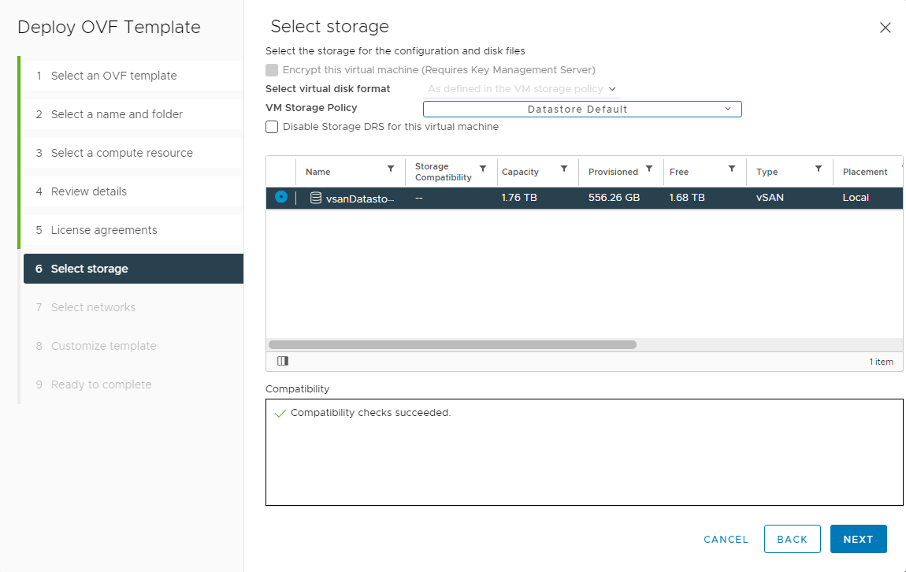
Select the storage location where your appliance will be deployed:
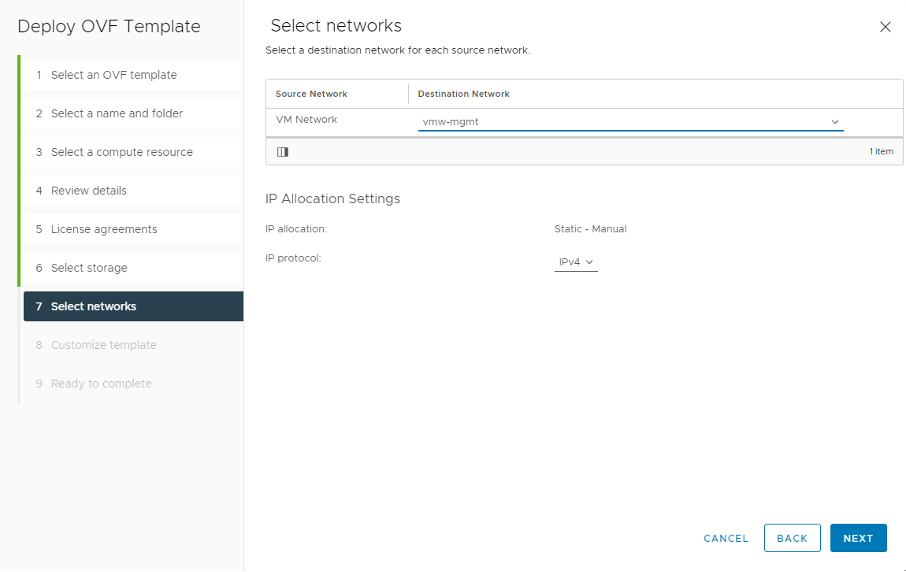
Select the network (port group) to which the appliance will be connected.
Note
The appliance is managed through this interface, and the data is also transferred to the cloud through the same interface.
So that you can manage the appliance later, set a secure password:
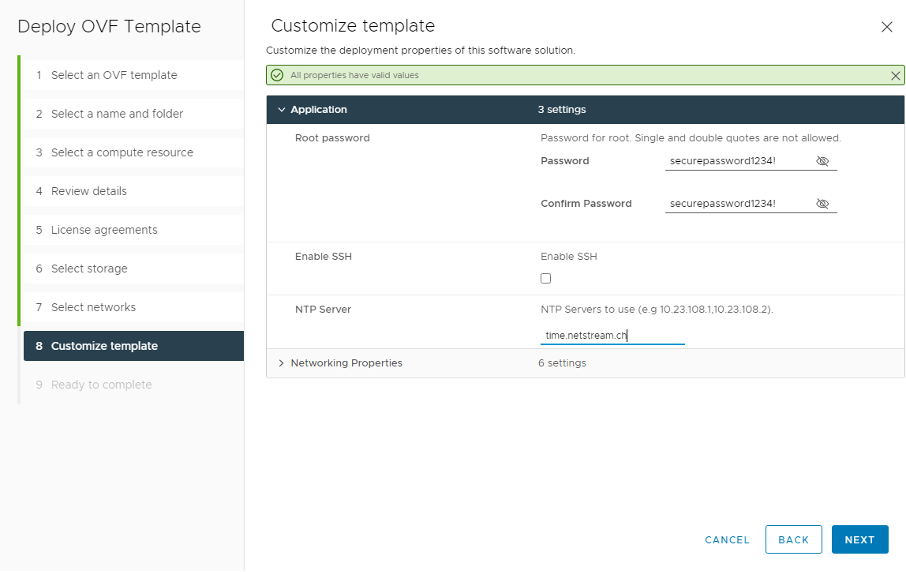
If you wish, you can enable SSH. This is only needed for troubleshooting. Now complete the network configuration:
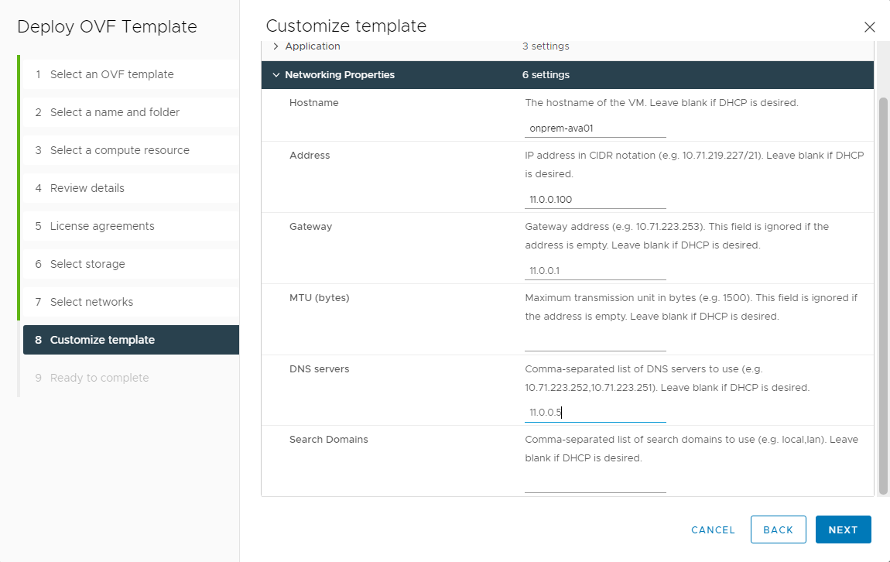
Note
If you assign the IP address manually, the settings may not be applied correctly. More on this in this guide. Also set a search domain (ideally the same one you use for the vCenter).
Check the details and complete the installation:
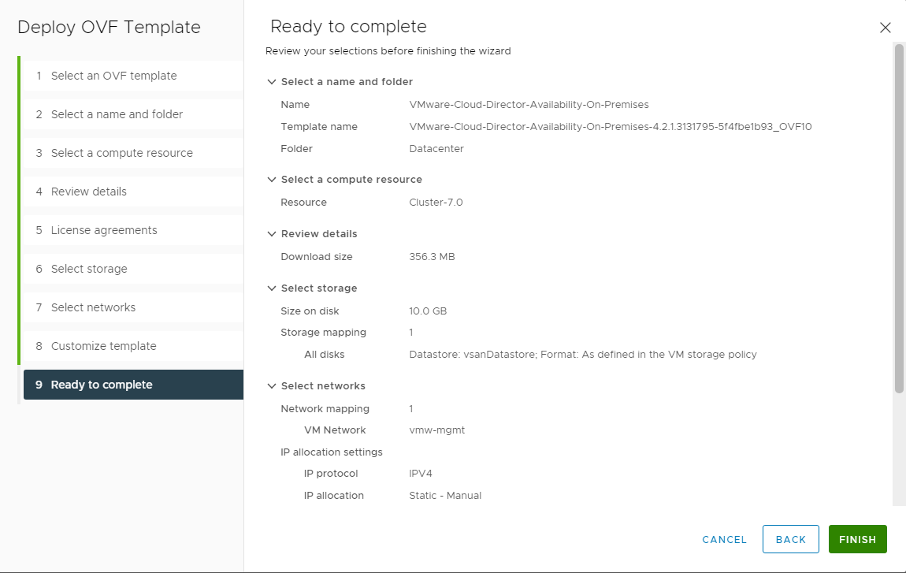
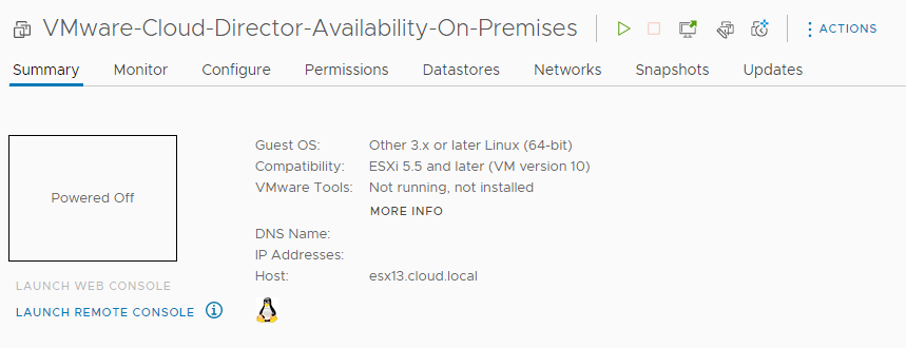
Once the appliance has been deployed successfully, start the VM:
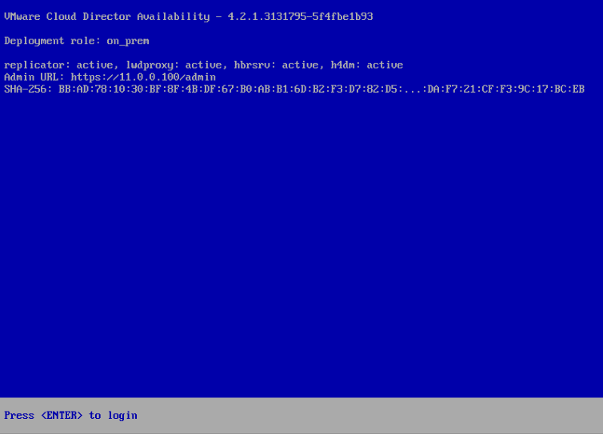
If the appliance has been configured correctly, you will see the following:
If the following message appears after startup, first continue with the section Network troubleshooting:
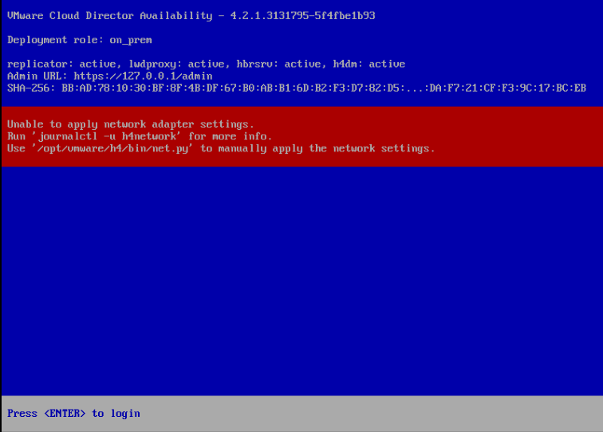
Configuring the appliance
In a browser, go to the admin URL (shown in the previous image) and accept the certificate warning:
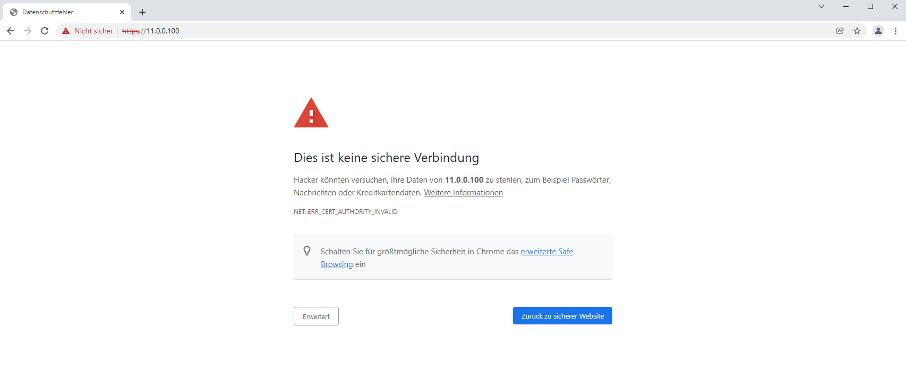
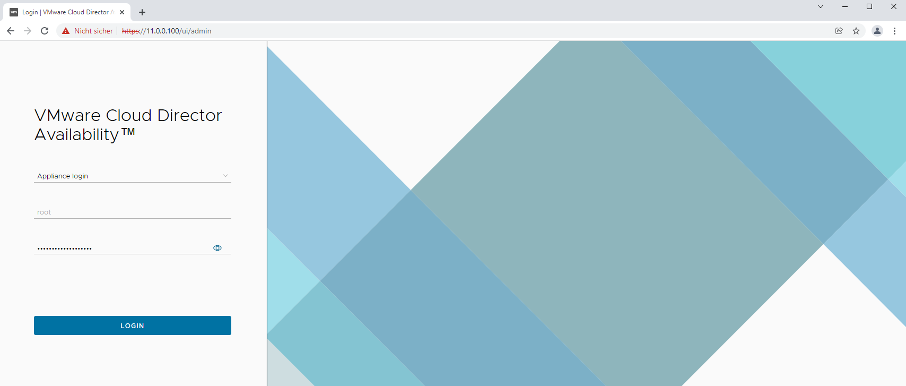
Log in with the appliance credentials (you chose the password during deployment). If the appliance has been deployed correctly, you can now carry out the configuration with the wizard. To do this, click «Run the initial setup wizard»
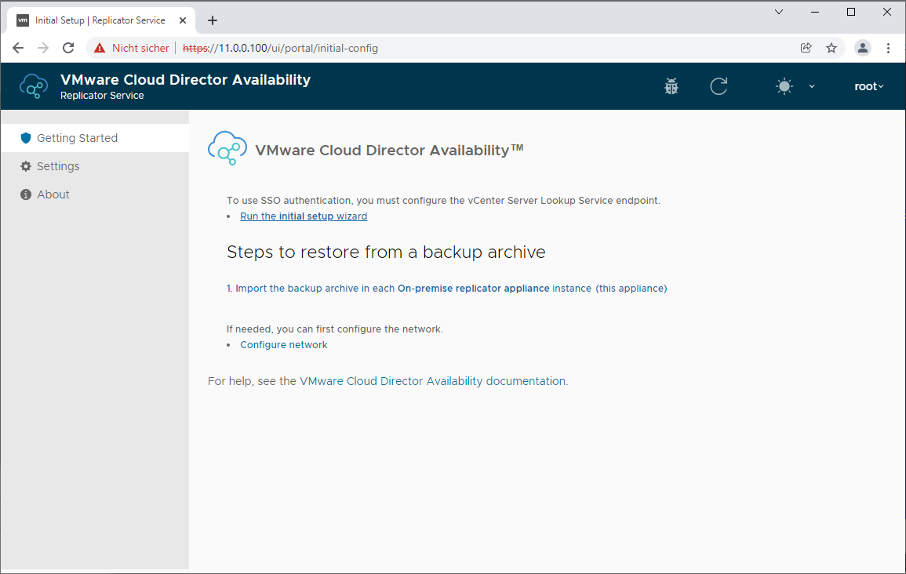
In the next step, enter your local vCenter. Also enter the user name & password for your VMware environment. We recommend using the FQDN of your vCenter.
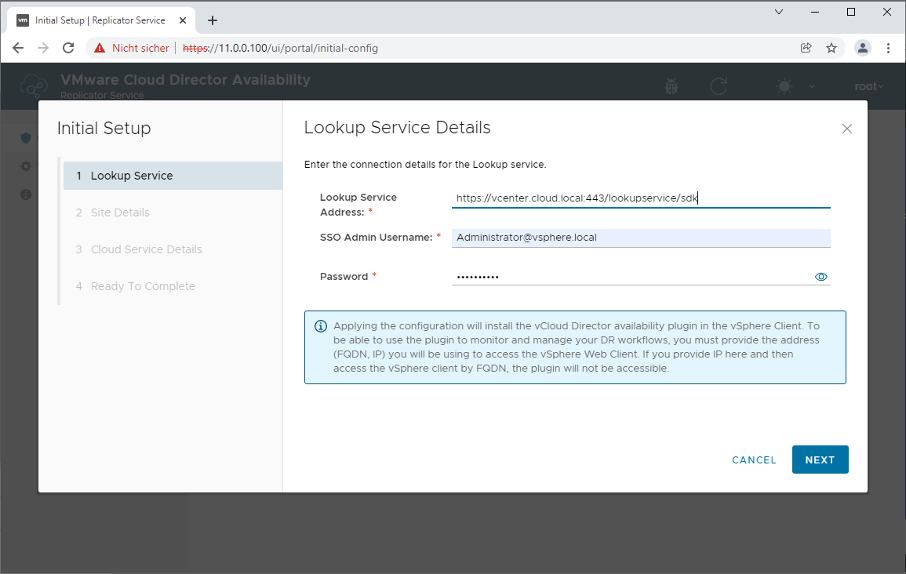
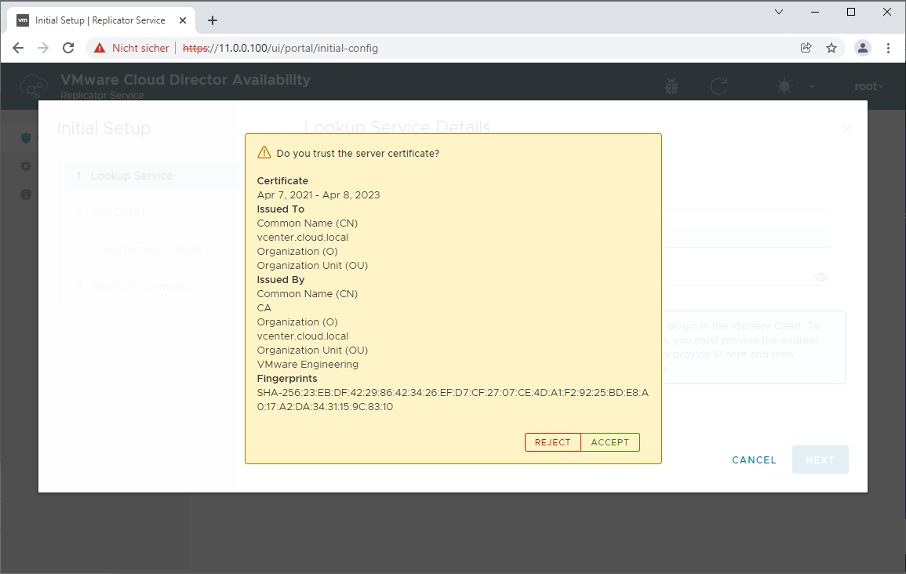
Accept the certificate of your vCenter:
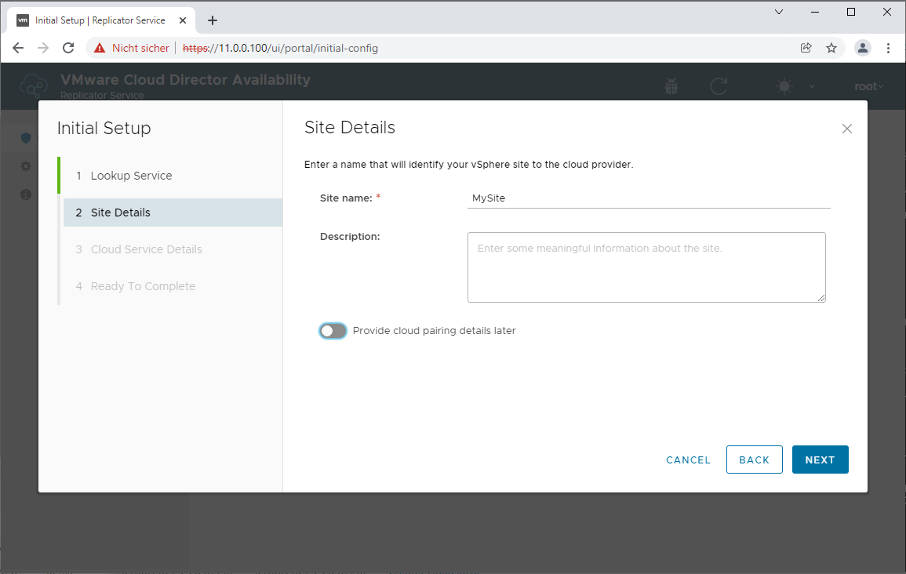
You can now give your on-premises environment a name. The name must not contain special characters or spaces.
Configuring the Netstream Cloud:
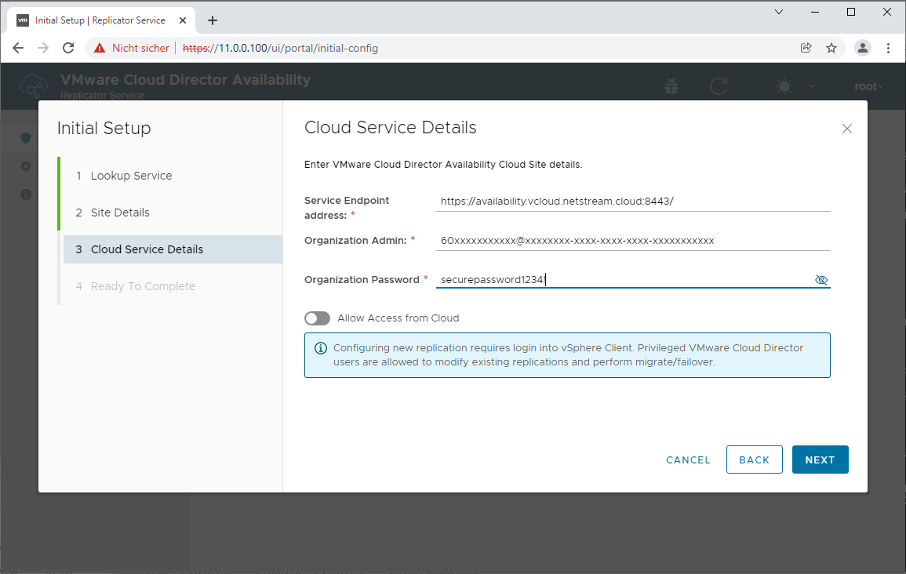
The service endpoint address for the Netstream Cloud is:
https://ava01.ch-dub-1.vcloud.netstream.cloud/
Use your organisation admin in the format <user>@<OrganizationID>. You can find this information in the console https://console.vcloud.netstream.cloud/.
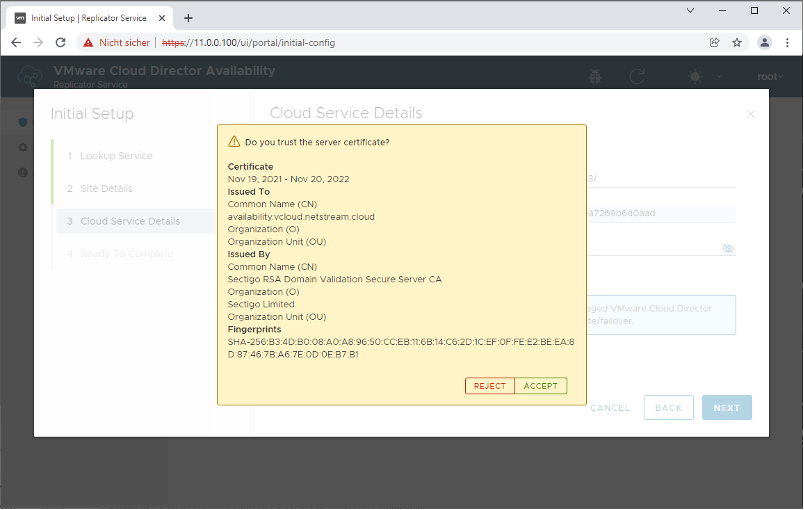
Accept the valid certificate of the Netstream Cloud:
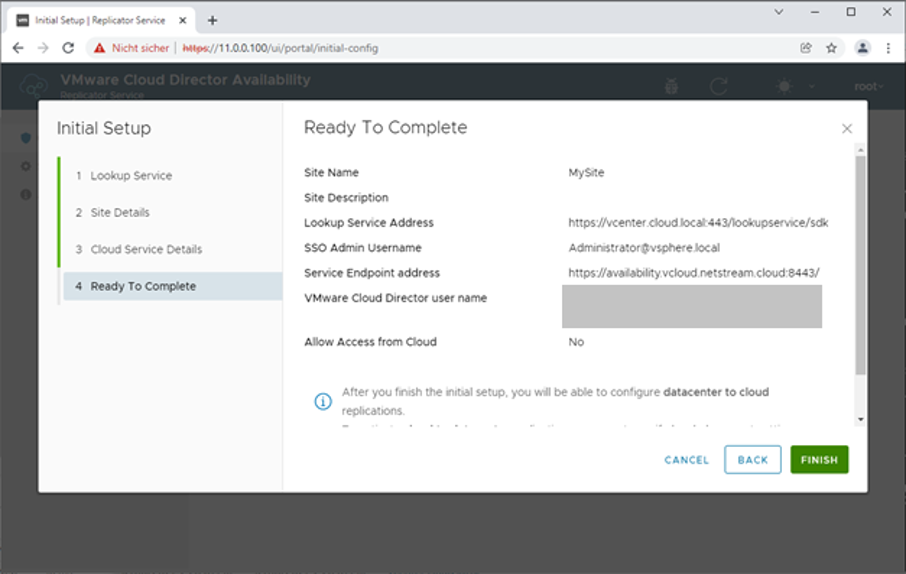
Check the details you entered once more and complete the configuration:
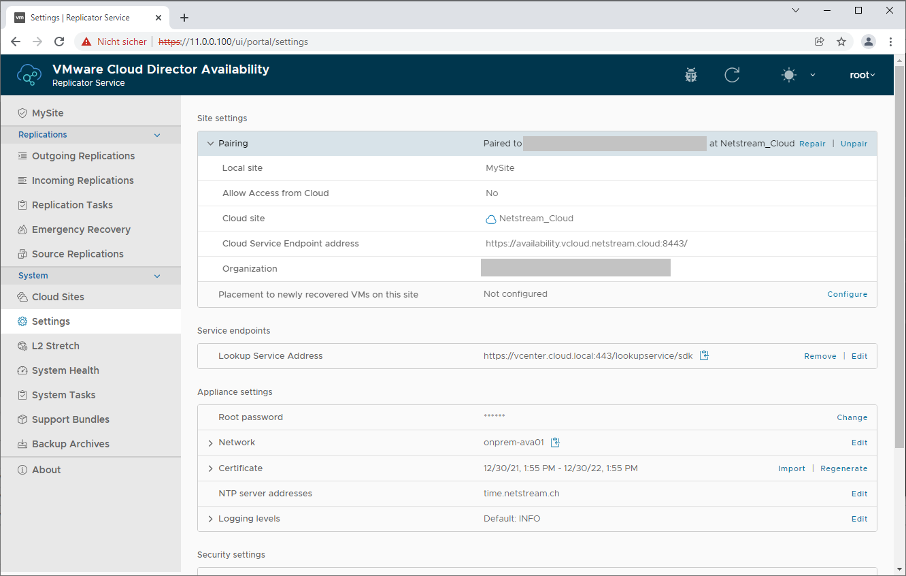
Congratulations, the installation has been completed successfully:
Network troubleshooting
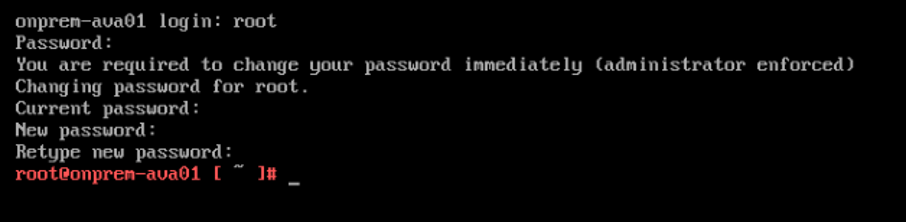
Open the console of the virtual machine (appliance) and then press Enter. You will first be asked to change the password:
Note
When setting the new password, bear in mind that a different keyboard layout may be active. Make sure that special characters are the ones you intend.
Display the current network configuration:
/opt/vmware/h4/bin/net.py nics-status
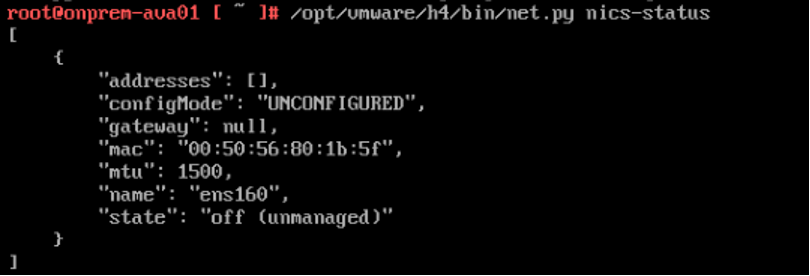
Set a static IP address:
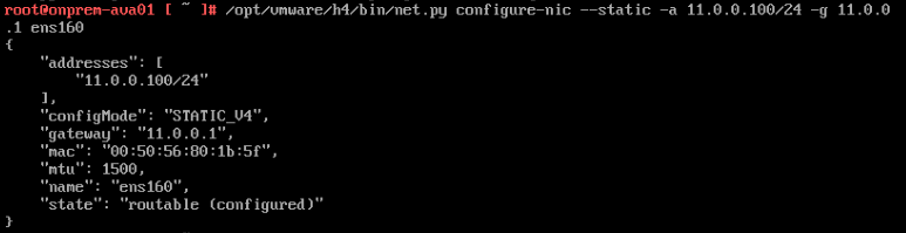
/opt/vmware/h4/bin/net.py configure-nic –static -a <ipaddress/prefix> -g <gateway> <interfacename>
Important: For name resolution to work, you must enter a DNS server and the search domain.

/opt/vmware/h4/bin/net.py configure-dns -s 11.0.0.5 -d cloud.local
Restart (reboot) the VM.
Installing NSX Edge (Autonomous Edge)
Summary
To connect a local network (Layer 2) to the cloud network, you can also set up a Layer 2 VPN (L2VPN), also called L2 stretch. To do this, an NSX Autonomous Edge is deployed in the local VMware environment (if the local installation does not run NSX).
You can find the guide here: Netstream Workload Availability Service: NSX Edge