![Netstream_White_RGB[1].svg]](https://support.netstream.cloud/hubfs/Netstream_White_RGB%5B1%5D.svg)
- "Mount virtual disk" mounts a single VMDK on a previously selected VM. This gives you faster access to data than via "Recover files".
- "In-Place-Recovery" resets the complete VM in vCloud Director to the state it was in at the time of the snapshot. The «current» state is overwritten/replaced.
-
"Recover files" lets you restore individual files from the VM. You can browse through the individual virtual disks & folders to find the folders and/or files you want to restore.
- "Instant recover" is the function that shuts down an existing VM in a vApp, renames it and then, in parallel, starts up and configures the same VM from the backup.
Test setup
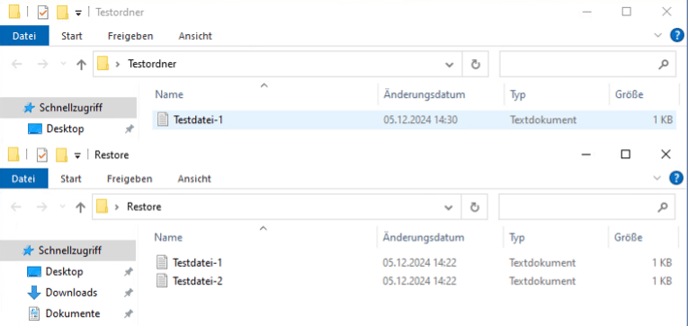
For illustration, the following test scenario has been set up: on the desktop of the server "windows-test-1" there is a folder «Testordner» with the files «Testdatei-1.txt» and «Testdatei-2.txt». Both contain the text «This is the original file.».
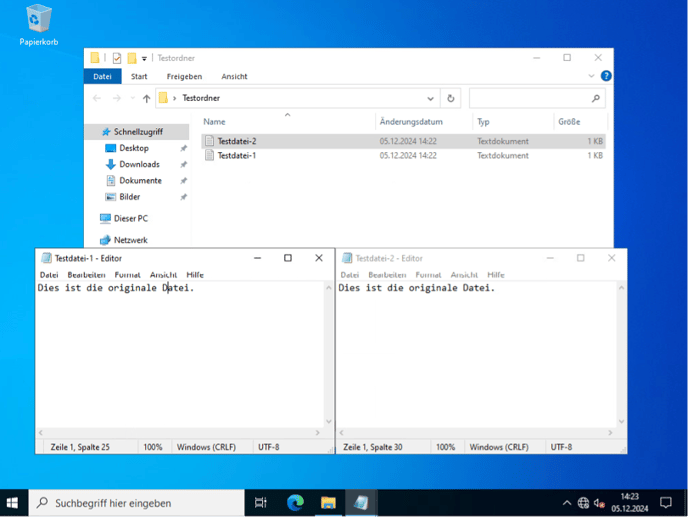
Now the file «Testdatei-1.txt» is changed to «This is the modified file.» and «Testdatei-2.txt» is deleted. This is so that a restore can be shown later.

Accessing backups
To restore the whole VM or just a single file, you can access the backup history via the Rubrik web UI. You can do this via the URL https://console.backup.netstream.cloud/. You can log in with the same credentials as for Cloud Director.

You can access the snapshots via «Virtual Machines» and then «vSphere VMs» or «vCD vApps», depending on the level at which you want to carry out the restore.
Selecting a single snapshot
On the individual VM, you can now select the individual backup snapshots in the calendar. Each snapshot then offers various restore options.
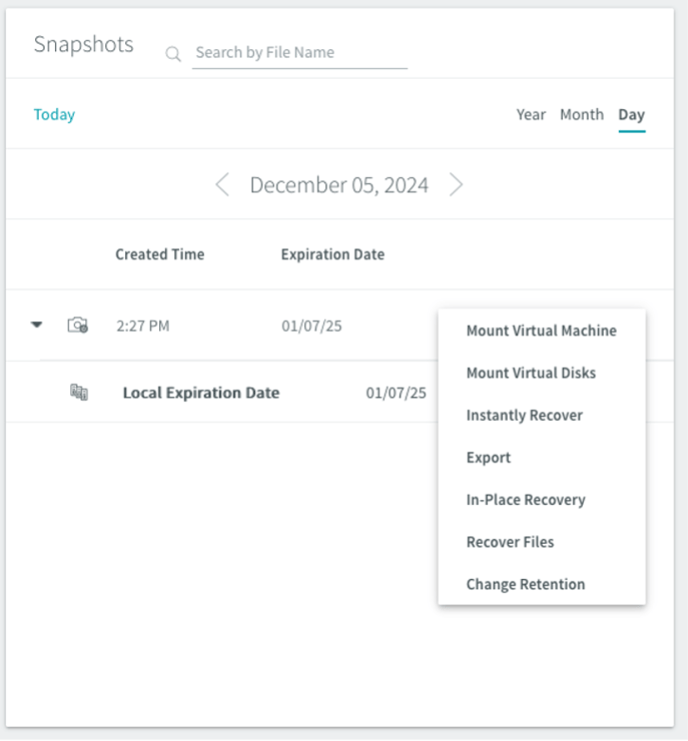
Mount virtual disk
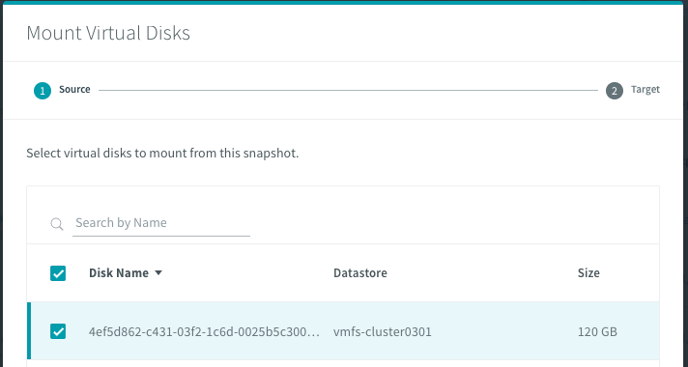
First, select the correct VMDK.
Then select the VM to which the disk should be attached. This does not have to be the source VM, but it can be.
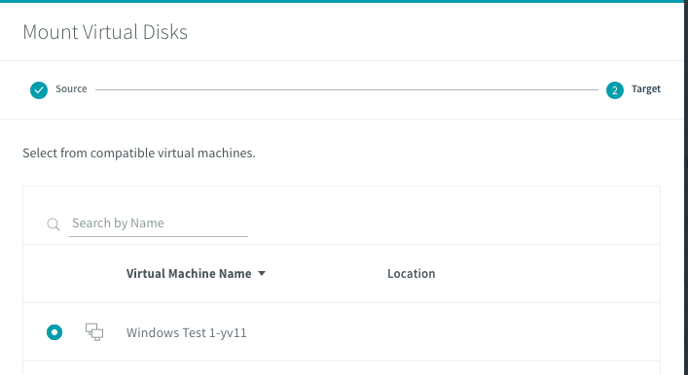
The disk is then attached to the selected VM. You still need to bring it online or mount it in the operating system’s disk manager so that it appears as a drive.
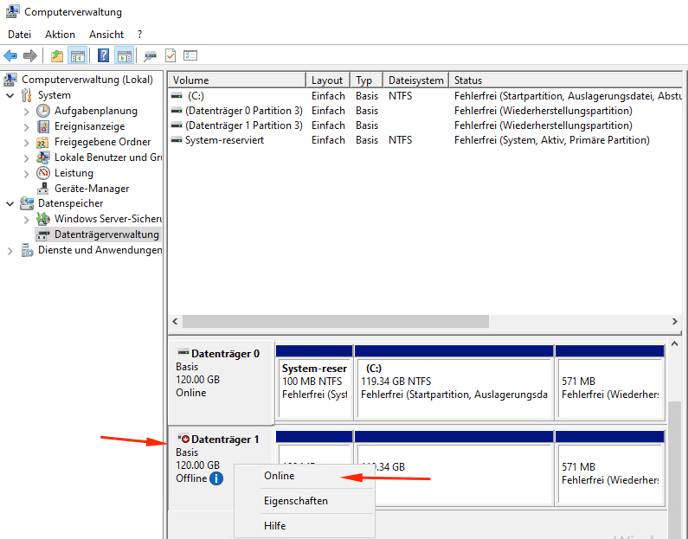
The disk then appears as a new volume in Explorer.
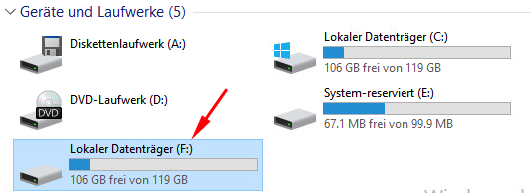
Once you have recovered your data, you must take the disk offline again in Disk Management. As soon as this is done, you must unmount it again via the Rubrik GUI. To do this, use the "Live Mounts" menu item in the sidebar and then "vSphere VMs".
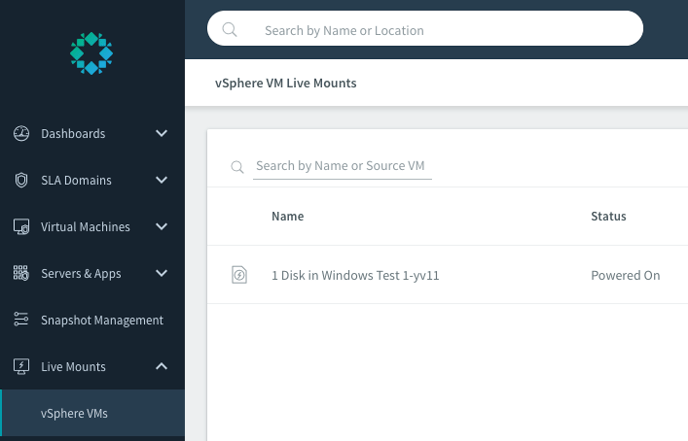
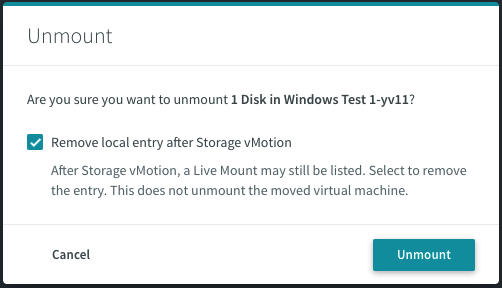
Once you have found the relevant disk, you can open the menu via the three dots next to the VM and use the "Unmount VM" option.
In-Place-Recovery
This resets the complete VM. This also means a short interruption for the services running on it. It is also important to be careful with Windows domain joins, as certain keys may have changed in the meantime.
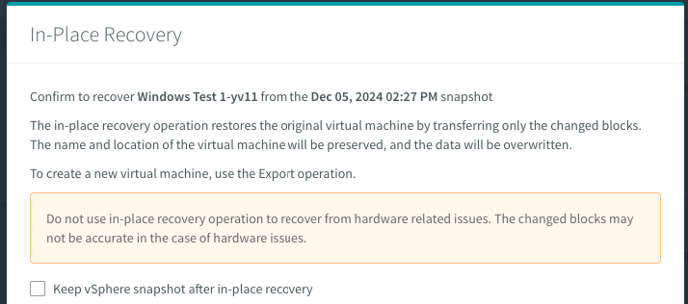
The VM is then replaced in vCloud Director. Depending on the size of the changes since the snapshot, this can take a moment.
Recover files
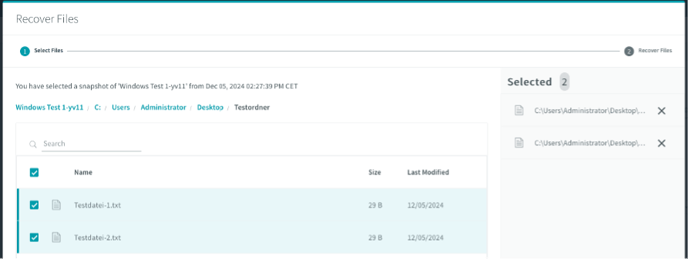
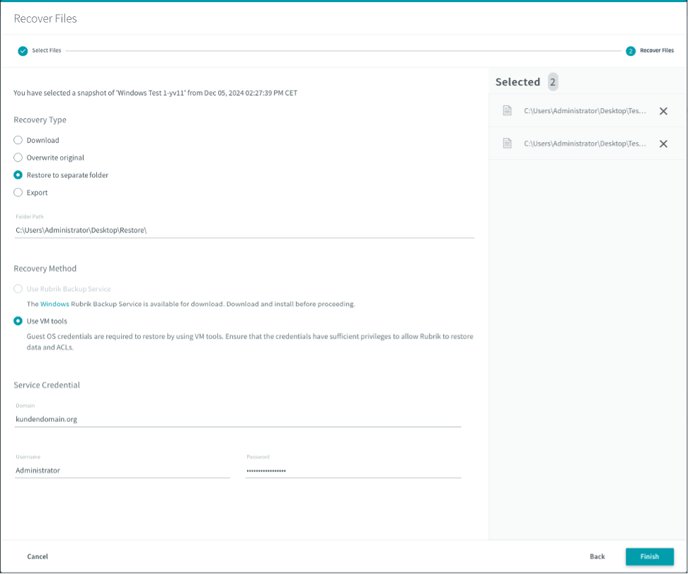
After you have selected the individual data to be restored, further options are available for how and where the data should be copied.
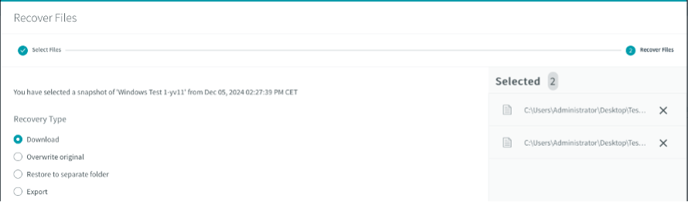
-
«Download» retrieves the files from the backup and then makes them available as a direct download in the browser.
-
«Overwrite original» restores the files on the source system. This overwrites the «current» state.
- «Restore to separate folder» gives you the option of restoring to a new location.
-
«Export» makes the files available to an alternative VM.
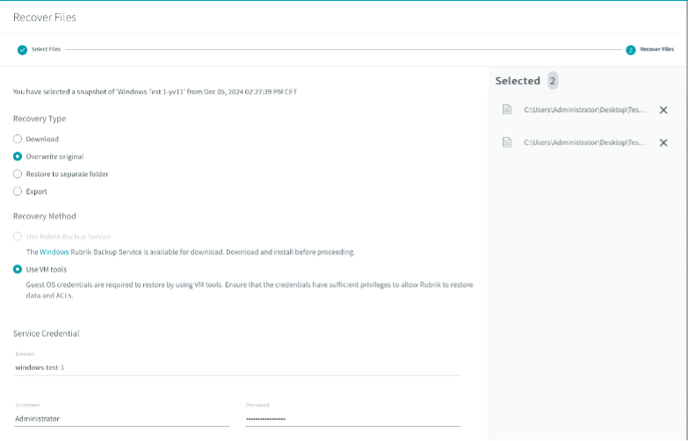
Details on "Overwrite original"
Only the VM credentials are required here. This is a local administrator account or a domain user with local administrator rights on the server.
Details on "Restore to separate folder"
With this restore option, data can be restored to a parallel folder. This can be helpful, for example, to compare data. The restore can take a moment, especially for older snapshots in the archive or larger amounts of data.
It is important that you always write out the full existing target path. Windows VMs require backslashes, Linux uses forward slashes. The target folder must exist & here too the service credentials must have local administrator rights on the machine.
After the restore has been completed, the folder structure looks like this:
Instant Recover
First, select the vApp that you want to repair. (Important: this must be done via the vApp so that the VM appears in vCloud Director. Via vSphere VM, manual intervention by Netstream Support is required.)
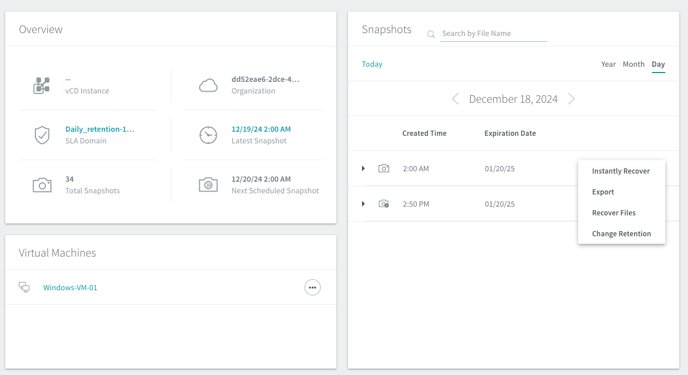
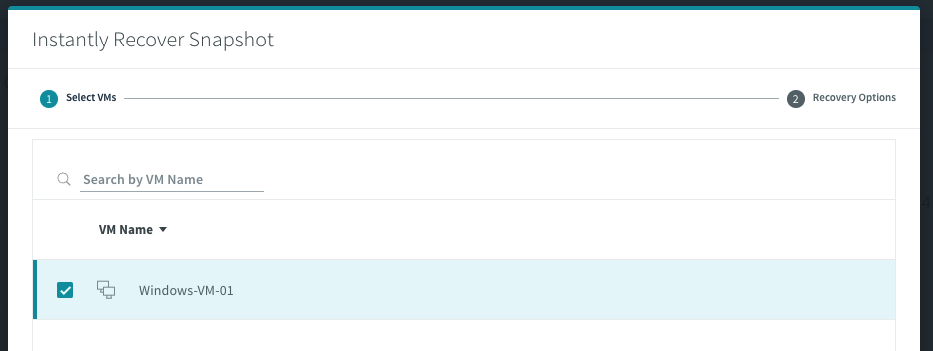
After you select the vApp and the "Instantly recover" option, another window opens in which you can select the relevant VM(s).
After a while, you will see in vCloud Director that the restore is running.

The "old" VM is now shut down and renamed to "Rubrik-Deprecated-$VMName", while the "new" VM from the backup is given the name "Rubrik-Restored-$VMName". Depending on the size of the VM, this process can take a moment and should not be interrupted. Certain changes to the VM may only become available once the move from backup storage to the actual storage has been completed in the background.
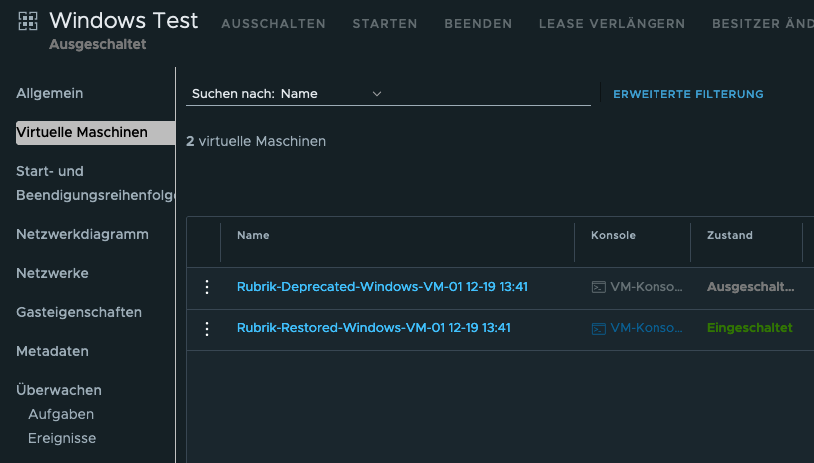
If you are happy with the result, you can rename the restored VM to the correct name and delete the old version.