![Netstream_White_RGB[1].svg]](https://support.netstream.cloud/hubfs/Netstream_White_RGB%5B1%5D.svg)
Before you start creating your first VM in your VDC, we recommend that you first read the Quickstart article on the Virtual Data Center.
If we create the VDC for you, the basic requirements for creating applications are already in place: the network and the Edge are already configured so that your VMs have internet access.
Create a new app
Once you are logged in to the VDC you want, click App Launchpad in the More menu, then Marketplace:
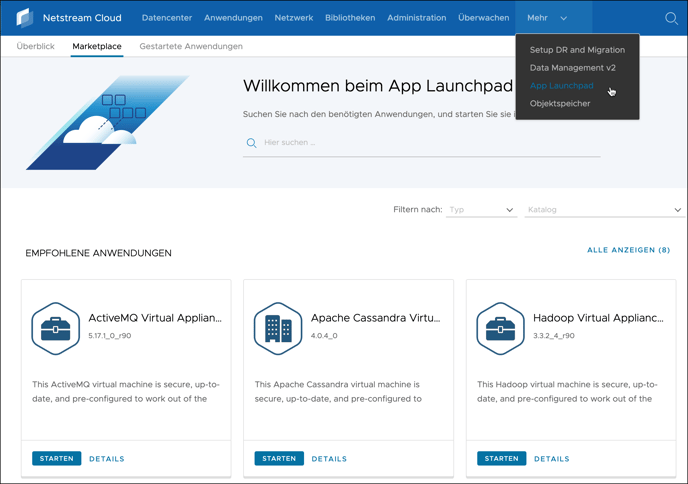
Here you can search for the application you want in the search field, or browse through all applications further down under "All Applications".
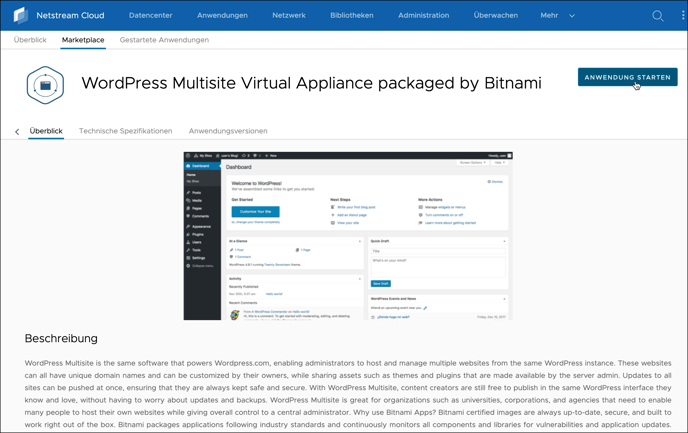
When you have found the application you want, click it, then click Launch Application. In this example, we will install WordPress.
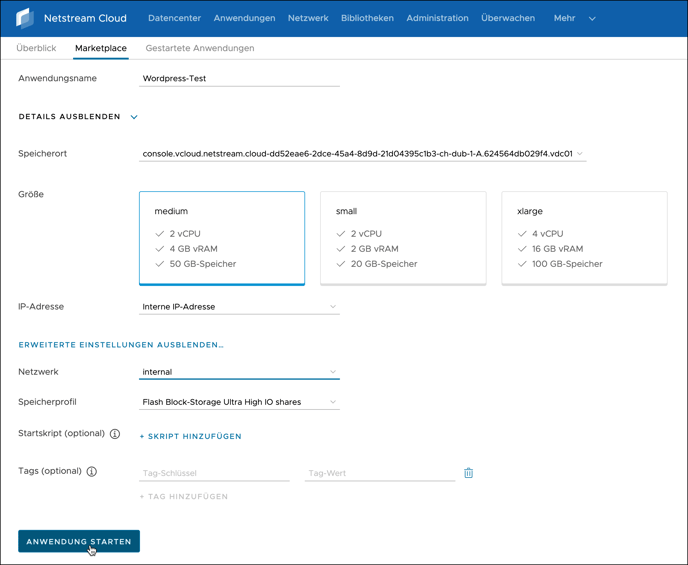
Then give the application the name you want and click Show Details. You should also expand the advanced settings by clicking Show Advanced Settings.
Here you can select the VM size you want for the application, as well as the storage profile. The storage profile determines the SSD performance.
You should also set the following settings explicitly:
- IP address: internal IP address
- Network: select the internal network you want, do not leave it empty
Then create the application by clicking Launch Application.
Once the application has been launched, it is visible in App Launchpad under Launched Applications:
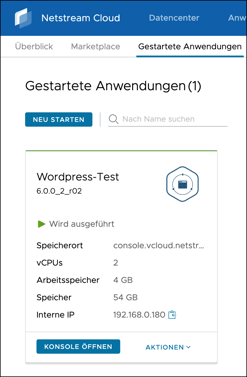
Here you can also see the internal IP that was automatically assigned to the application. You can also open the console, where each application shows its default credentials (user name and password) and any further instructions:
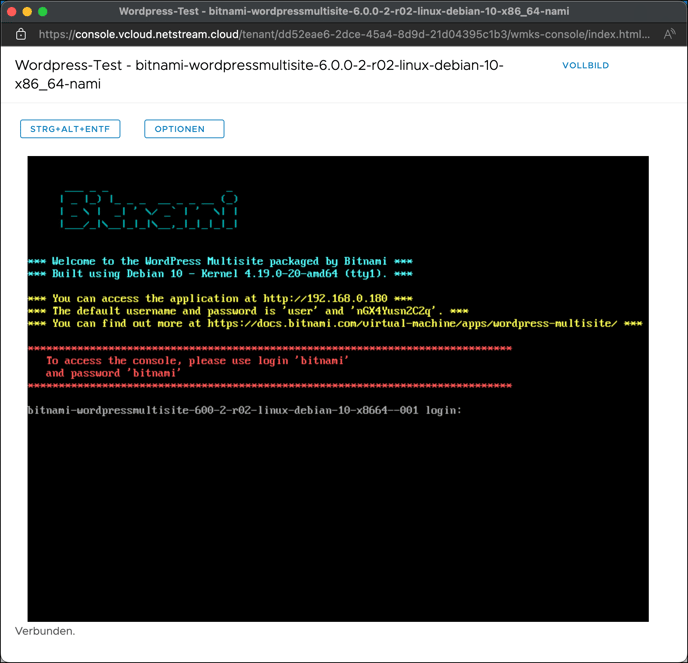
Access from the internet
To access the application from the internet, you first need to set up the appropriate port forwarding. To do this, and to make services publicly reachable (if required), you must create DNAT (Destination Network Address Translation) rules and firewall rules on the Edge that forward the required ports (for WordPress, these are TCP ports 80 and 443) to the internal IP of the application (in this case 192.168.0.180). You can find out more in this Quickstart article.
Configuring the application
Once the port forwarding has been set up, you can access the application's web GUI, in this case at http://x.x.x.x/wp-admin (where x.x.x.x is the public IP).
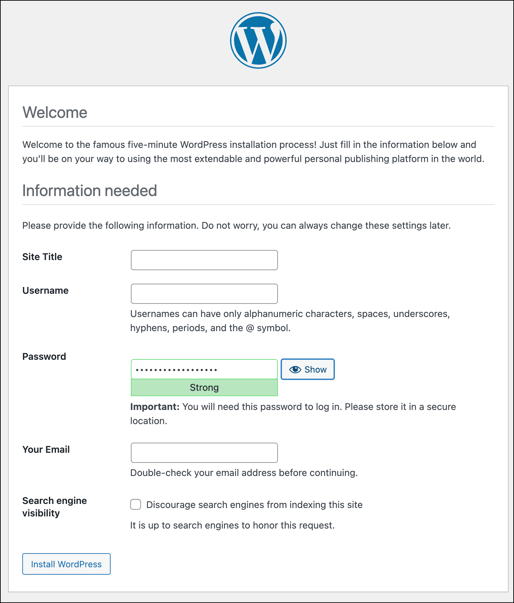
Here you can complete the WordPress installation. Your first application is now ready to use!